
This past summer I was asked to make the desserts for a large fundraising gala to benefit the Historic Preservation Society in Prince William County, Virginia. I was asked to provide historic desserts from colonial times in Virginia to modern times. Even though I tell my children I am 365 million years old, and they have no doubts that that is true, I have lived in Virginia for less than 35 years, so I needed to research historic recipes. I found some recipes online and then luckily, happened upon a collection of recipes that Anne Byrn had gathered and published in the book American Cake. I presented the various recipes I had found to the Gala organizers and the Preservation Board Chairwoman, and they chose which recipes they would like me to make. Since a significant number of people are, by necessity, gluten-free, and I am well-known for my gluten-free bakes that taste as good as, and sometimes even better than, the original wheat- and dairy-based cakes, I was asked to make one of the recipes gluten-free. The recipe chosen was Appalachian Stack Cake.
I am originally from northwest Ohio and had never heard of Appalachian Stack Cake. (My apologies to everyone who considers that statement to be blasphemy!) I had to first make the cake as printed in Anne Byrn’s book, so I knew what it was supposed to taste like. Then I went to work creating the gluten-free version. And after a few attempts, I had a wonderful gluten-free cake that everyone really enjoyed!
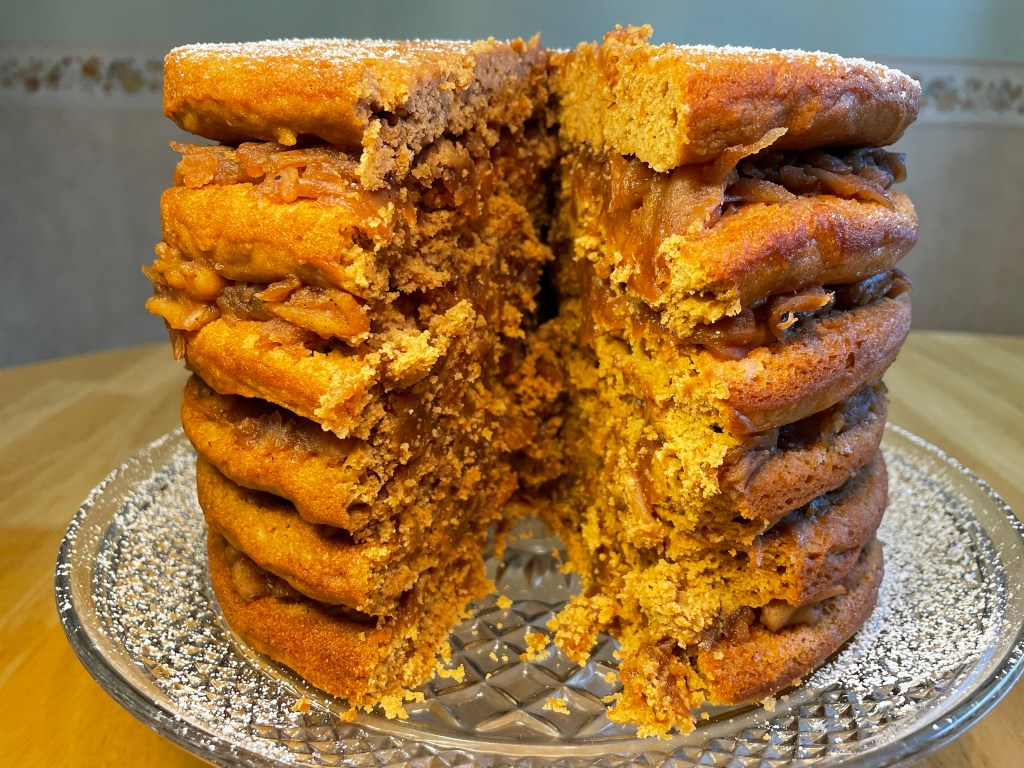
Just a word of caution: When finished, this Appalachian Stack Cake is 6 1/2″ tall. You will need a cake stand or cake carrier with a VERY tall lid!
THE INSIDE SCOOP
Weights and Measures: When both volumetric and weight measures are provided, the volumetric measures should be considered approximations. The standard measure for a cup of sugar is 192 grams. By volume, typically this measure will be less than 1 cup.
This recipe was made using My Gluten Free Flour Mix. Due to the varying characteristics of gluten free flours, other gluten free flour mixes are not guaranteed to work.
Since gluten free flours do not contain gluten, refrigeration time is essential to allow flours to absorb moisture and eliminate the gritty “gluten free” texture and taste. Although the “grittiness” can be mostly eliminated after 15 minutes of refrigeration, I find longer refrigeration times continue to improve the texture, taste and rise of gluten-free baked goods.
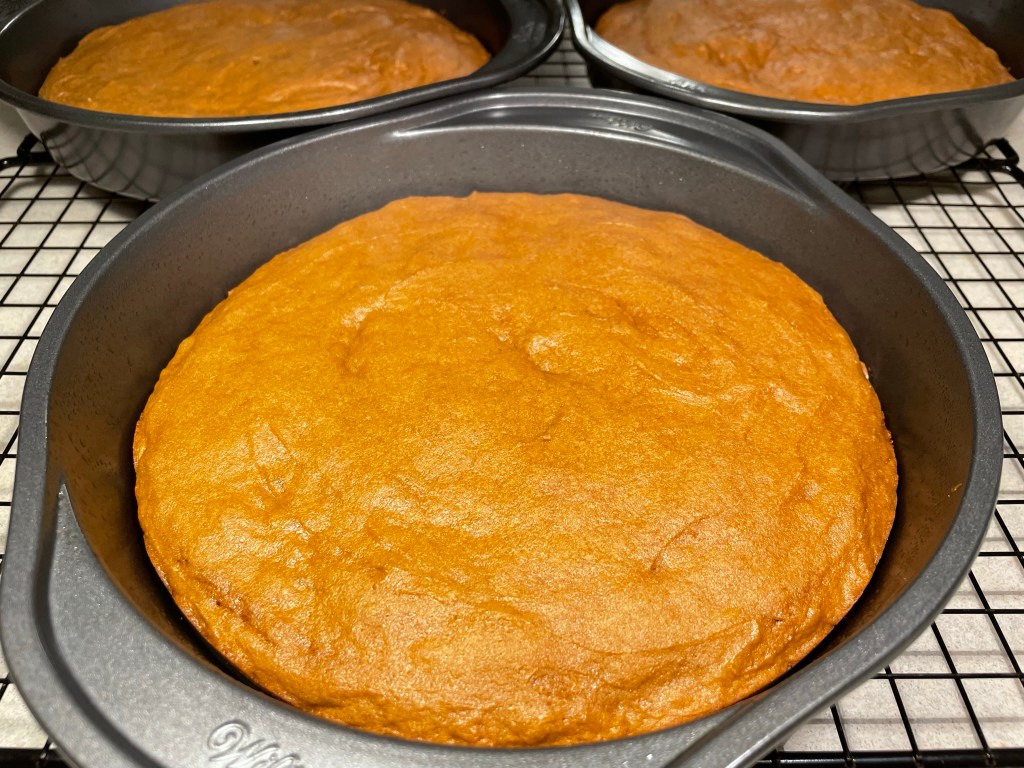
DON’T LET YOUR CAKE BE A CLING-ON.
This cake tends to stick to the cake pans. To prevent this, line the bottoms of the cake pans with parchment paper. To do so, place the cake pans on the parchment paper. Use a permanent marker to trace around the bottom of the cake pans. Cut out the circles by cutting inside the pens marks. Spray the pan with non-stick cooking spray and then place the parchment paper on the bottom of the cake pan.

I’M EGGCITED ABOUT EGGS!
Eggs usually need to be room temperature when making a cake: Warm eggs hold more air than cold eggs, which means a lighter cake. Cold eggs, on the other hand, can result in a lumpy batter and heavy texture. To quickly bring eggs to room temperature before cracking, place eggs in a bowl of warm (not hot) water for 10 minutes.
Crack eggs into a small bowl before adding to the batter. That way, it is easy to remove any bits of eggshell or bloody eggs.
KEEPING THINGS EVEN.
When you are ready to bake the cake layers, distribute the batter evenly between the 6 cake pans. This is easiest to do if you use a food scale to measure the amount of batter in each pan. If you don’t have 6 cake pans (not many of us do), fill the available cake pans with 11 1/2 ounces of batter and refrigerate the rest while the cake layers bake. Once the layers have cooled for 10-15 minutes, be sure to remove the cake layers with their parchment papers still attached and place on cooling racks. You will need to line the cake pans with new parchment paper before repeating with the remaining batter.

AN APPLE A DAY MAKES A VERY GOOD CAKE.
Unlike most cakes that have a frosting or mousse filling, this has a cooked apple filling made from dried apples. I prefer to make dried apples myself by drying fresh apples in a dehydrator. Typically, this is much less expensive than buying packaged dried apples because I have an apple tree. Sadly, this year the squirrels stole ALL of my apples, so I had to buy them. If you are unable to dry apples yourself, look for packages of dried apples with an ingredient list of ONLY dried, unsulphured apples. Do not use dried apples that list sugar, sunflower oil, or any other ingredient in the ingredient list. (As an aside: One time I bought a package of dried apples that included sunflower oil in the ingredient list. I opened the package- the smell was so bad, I threw the whole package away.)

Dried apple slices or apple rings are cooked with the other filling ingredients in a covered saucepan on low heat until the apples have softened and have absorbed most of the apple cider or apple juice. (This is why it is important to use DRIED apple slices.) This can take 30-60 minutes. I use only 4 cups of apple cider to cook the apples. However, I want the filling moist enough that the flavor permeates the cake layers. So, after the filling is cooked, I place the filling in a food processor and pulse until the filling is blended, but visible chunks of apple remain.
At this point, the apple filling appears fairly dry because it has absorbed all of the apple cider. I will then add up to an additional 2 cups of apple cider, 1/2 cup at a time, until the filling is moist, but not runny. The apple filling should be slightly warm when the cake is assembled so that some of the apple filling soaks into the cake layers.

CAKE AND FILLING LAYERS, ASSEMBLE!
It can be daunting to stack 6 cake layers with filling in-between. These cake layers are firm enough, though, to support the weight of additional cake layers plus filling. To quickly assemble the cake:
The first cake layer is placed on a cake plate.

It is then covered with 1 cup of WARM apple filling.

Stacking and filling continues until all 6 layers have been stacked with approximately 1 cup of filling between each layer.

Oops, almost forgot to mention one of the most important steps: Let the cake sit in the refrigerator for a day before serving so that the flavors can blend!
Just before serving, dust the top of the cake with powdered sugar, as pictured here, or with dollops of whipped cream.

Then find a knife long enough to cut a 6-layer cake, and ENJOY!
Two Days Before Serving, Make the Cake Batter: Cake: In a large mixing bowl, whisk together My Gluten Free Flour Mix, xanthan gum, baking soda, baking powder, and salt; set aside. In a small bowl, combine the buttermilk and apple cider or apple juice; set aside. In another large bowl, combine the shortening and sugar; beat on medium speed until combined. Add the molasses and beat until smooth, about 2 minutes. Add the eggs, one at a time, and beat just until combined. Scrape the beaters and sides and bottom of the bowl frequently. Add 1/3 of the flour mixture; beat on low speed just to combine, then add ½ of the buttermilk and apple cider; beating just to combine. Repeat once, then add the remaining 1/3 flour mix; beat until smooth, about 1 minute, scraping bowl and beaters often. Cover bowl and refrigerate for at least 2 hours, or preferably, overnight. When Ready to Bake: Filling: Place the apples in a large saucepan or non-stick skillet. Add the brown sugar, cinnamon, ginger, nutmeg, cloves, and 4 cups of apple cider. Bring the mixture to a low boil over medium heat; once boiling, cover pan and reduce heat to low; let simmer until apples are soft and most of the cider has been absorbed. This may take 30-60 minutes. Once the apples are soft, remove the pan from the heat and let cool slightly. Then, working in batches if necessary, place the apples in a food processor and pulse until small chunks of apple are visible. Place apple mixture back in the saucepan or in a small bowl. If mixture appears fairly dry, slowly add up to 2 additional cups of cider, ½ cup at a time, stirring after each addition. The apple filling should not be runny but should have enough moisture to allow the apple flavor to soak into the cake layers. This makes about 5 ½ cups of filling. Cake: While filling is cooking, bake the cake. Preheat oven to 350 degrees. Spray six 9” round cake pans with non-stick cooking spray, then line the bottoms only with parchment paper. (If necessary, work in batches, keeping the remaining cake batter refrigerated as the cake layers bake.) Gently spread about 11 ½ ounces of cake batter in each cake pan. Bake at 350 degrees for 15 minutes, or until a metal skewer, when inserted into the middle of the cake, comes out clean. Do not use a wooden toothpick to test. Place the cake pans on a cooling rack for 10 minutes to cool, then tip the cake, and attached parchment paper, out of the pan and place on a cooling rack. Repeat until all 6 layers have been baked. Let the cake layers cool to room temperature. To Assemble: Place 1 layer, top side down, on a cake plate or a cake carrier with a tall cake cover. (Finished cake is 6 ½” tall.) Remove the parchment paper and cover with 1 cup of the apple filling. Repeat with 4 more layers. Place the 6th layer, top side up, on top of the filling. Refrigerate the assembled cake overnight, tightly covered, so that the flavors can blend. Just before serving, top with powdered sugar or whipped cream. Enjoy! *Dried apples should NOT include any oil or chemical additives. The ingredient list should just read “dried apples.” Typically, these apples will be labeled “Organic.”Gluten Free Appalachian Apple Stack Cake
Ingredients
Instructions


70 g./ 7 T. White Rice Flour
35 g./ 3 1/2 T. Brown Rice Flour
24 g./ 2 T. Potato Starch
15 g./ 2 T. Millet
11 g./ 1 1/2 T. Tapioca Flour
This equals 155 g. per 1 cup.
To make a large batch at once, I multiplied the above amounts by 8:
560 g./ 56 T. White Rice Flour
280 g./ 28 T. Brown Rice Flour
192 g./ 16 T. Potato Starch
120 g./ 16 T. Millet Flour
88 g./ 12 T. Tapioca


